Analysis and Maintenance: The vast majority of reasons why all buttons on the remote control do not work are due to damaged crystal oscillators. If you have fallen or checked with a radio and there is no beep sound, you can directly replace the crystal oscillator with a new one and try it out. If the fault cannot be eliminated after replacing the new crystal oscillator, the voltage at both ends of the crystal oscillator should be measured first. When any key is pressed, there will be a significant voltage change at both ends of the crystal oscillator, indicating that the oscillator can generate pulse signals. Next, check whether there is a relatively weak voltage change at the remote control signal output terminal of the integrated block. If there is a change, check whether the driving transistor and infrared emitter are damaged. Otherwise, it is mostly due to a faulty integrated block.
Fault 2: Some buttons do not work
Analysis and Maintenance: This phenomenon indicates that the overall remote control is normal, and the reason for some buttons not working is that the button circuit contacts cannot effectively conduct. Most of the contacts on the circuit board inside the remote control have dirt, which increases the contact resistance or prevents connection. You can use cotton dipped in anhydrous alcohol to wipe the carbon film contacts, but do not apply too much force to prevent wear or detachment of the carbon film layer. Aging or wear of conductive rubber can also cause individual bonds to malfunction. At this point, simply stick the tin foil (preferably aluminum foil adhesive) from the cigarette box onto the contact point of the conductive rubber and give it a try. If the above methods still cannot restore the remote control to normal operation, check whether there are cracks or poor contacts in the wiring from the input and output terminals of the key control signals corresponding to the integrated block to the contacts, especially at the connection between the carbon film contacts and the circuit lines. If necessary, replace the integrated block and try it out.
Fault 3: The remote control distance is short
Analysis and maintenance: Firstly, it is necessary to determine whether the remote control receiving circuit is working properly. A remote control of the same brand and specifications can be tested and compared. If the remote control receiver is normal, two aspects of the remote control should be checked: first, whether the 3V voltage at the power input terminal of the integrated block is normal, usually due to insufficient battery voltage, which is the most common reason for the decrease in remote control transmission ability; second, check whether the push transistor and infrared emitter in the remote control are good, and replace them for testing.
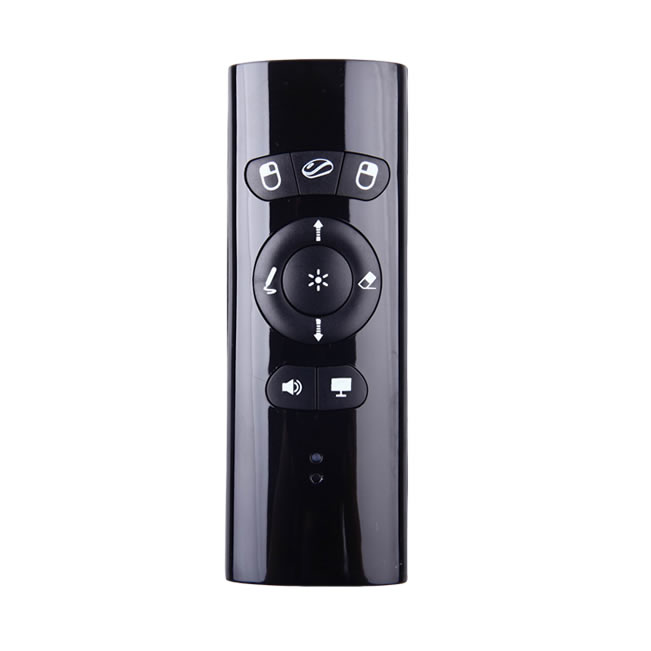
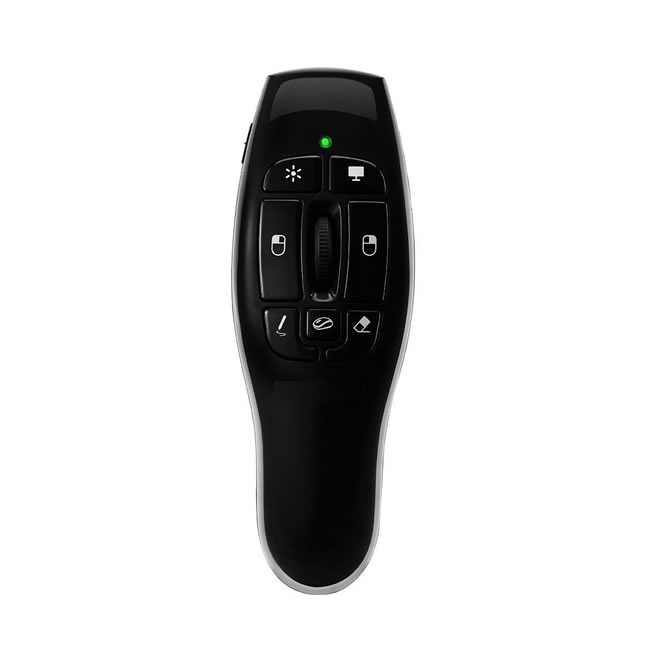
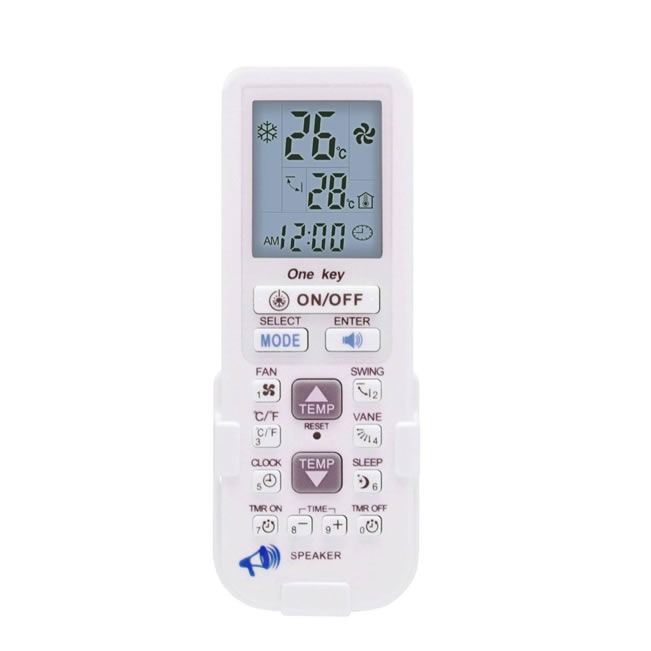
What should I do if the universal remote control buttons don't work? Many people make mistakes when using it!
Fault 4: Pressing any key only executes a certain function
Analysis and maintenance: It is usually caused by leakage or short circuit between the forked contacts or leads at the buttons that perform a certain function on the circuit board. Can clean the circuit board and conductive adhesive contacts for a trial. If the fault cannot be eliminated, check whether there is a short circuit or leakage in the leads of the key control input and output terminals of the integrated block that performs a certain function.
Before repairing the remote control, it is necessary to ask the user what the fault is, whether some buttons are not working properly or all are malfunctioning, whether it is due to accidental damage or no reason for the damage. The handling of individual button malfunctions is relatively simple, mostly due to poor contact. You can open the remote control housing and clean the conductive rubber contacts and corresponding printed board parts of the malfunctioning buttons with alcohol cotton balls. If they still do not work after drying, you can replace the conductive rubber or use cigarette aluminum foil paper to stick to the conductive contacts instead. If the problem is the wear of the conductive film at the contact point of the printed board, a bare copper wire of about Φ 0.4mm can be used to trace along the lead wire, and one end can be welded to the solder joint connected to the conductive film as a substitute. Then, depending on the situation, use 502 quick drying adhesive to stick the fine copper wire to the original conductive film. For cases of accidental breakage, it is usually due to the internal chip of the crystal oscillator being shattered, and it only needs to be replaced with a crystal oscillator of the same frequency.
For situations where there is no cause for damage and all buttons fail, you can first check if the battery is charged, then place a normal radio in the mid band, place the remote control as close as possible to the radio magnetic rod antenna, and press any button at the same time to listen for a beep sound from the radio (or use a multimeter with a range of 5-500mA to determine if it has working current). If there is a beep sound, it indicates that the remote control is oscillating normally, and the fault is likely to be in the infrared emission tube or the infrared emission tube pushing tube part. The infrared emitter tube can be soldered down and its forward and reverse resistance can be measured to determine if it is normal, similar to a regular diode, using an R × 1K gear. If there is no sound, first check if there is an open circuit in the power supply line or if the crystal oscillator pin is broken on the circuit board, and then replace it with a crystal oscillator of the same frequency to test if it is normal. If it is still not normal, it may be a damaged remote control IC and a replacement IC of the same model should be found.
In addition, the remote control may also experience button short circuit failure due to water and moisture ingress. At this point, the circuit board and conductive rubber should be disassembled and cleaned with alcohol.